Google Sites Tutorial: Build a Real Website in Under an Hour + Reddit Insights

TL;DR
Google Sites is free, fast, and works best for specific use cases. Teachers, schools, nonprofits, internal team wikis, student project sites, and simple event or campaign pages. It is not trying to compete with Wix or Squarespace.
Know who it is wrong for before you start. No blog with chronological posts. No ecommerce. Limited SEO control. No site export. Custom domain requires Google Workspace or a technical workaround. If any of these are dealbreakers, use a different tool and stop reading now.
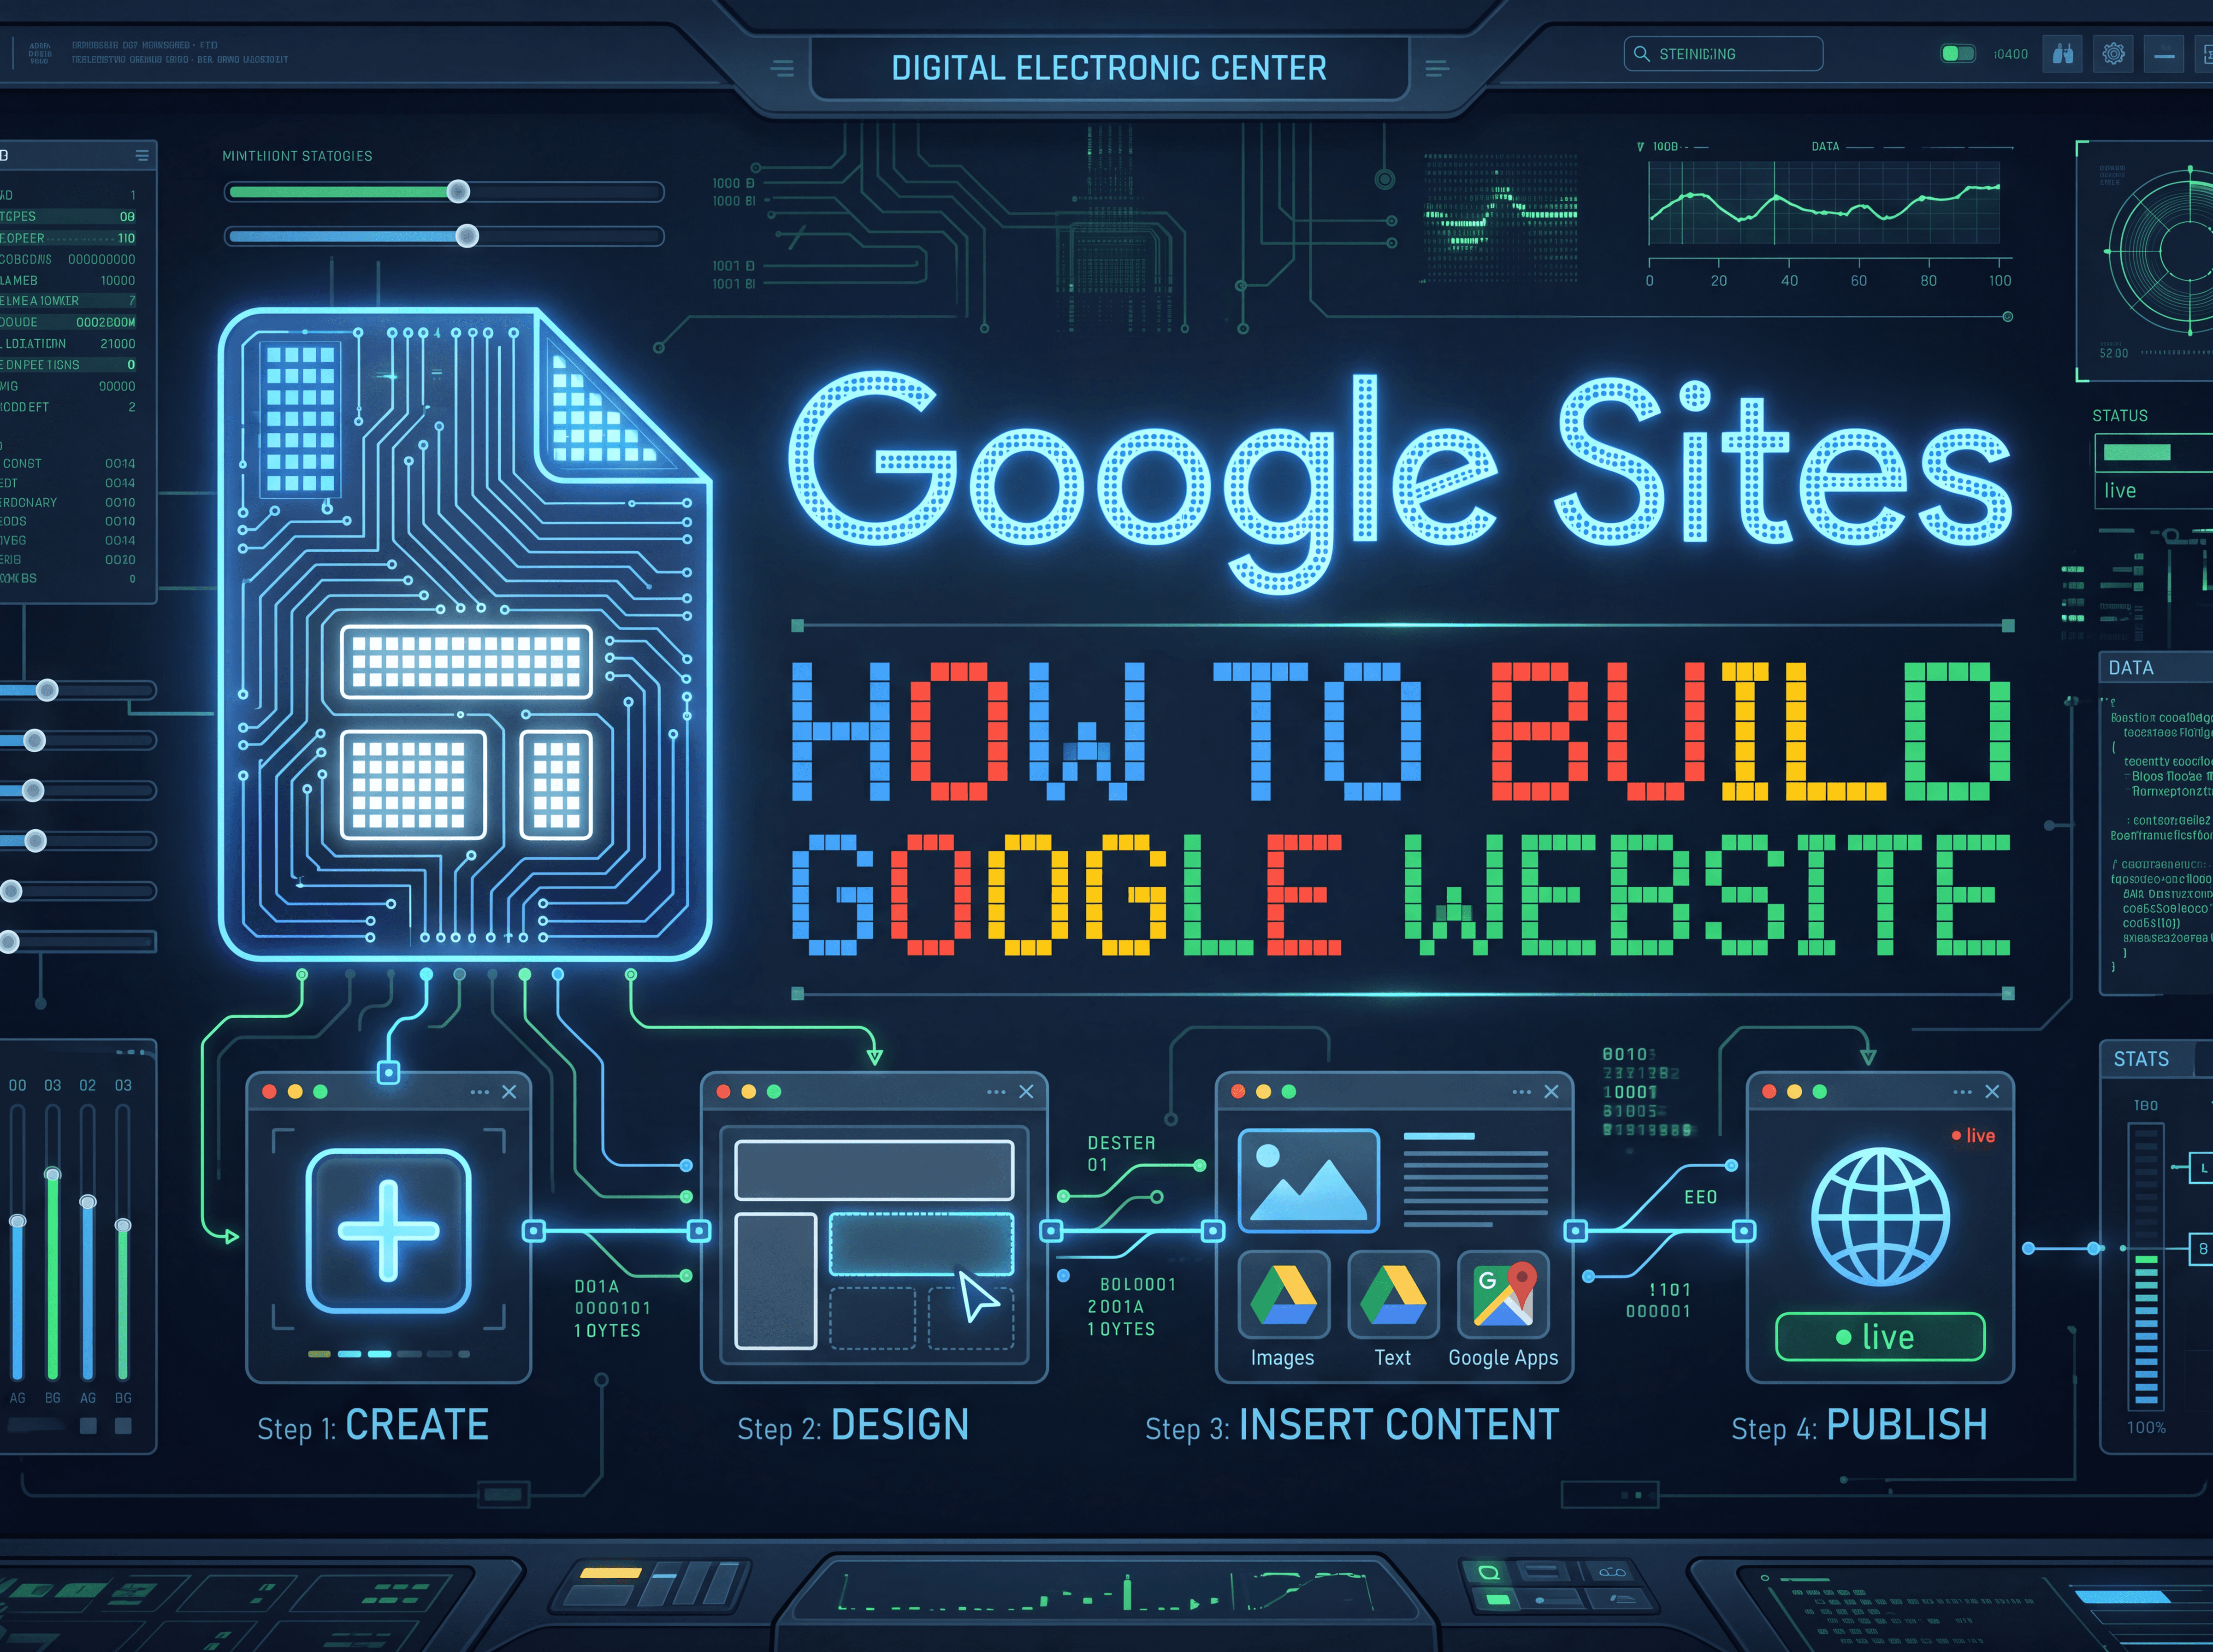
Create your site at sites.google.com. Click the plus sign to start blank. Name your site immediately because it becomes the default URL. The editor has three zones: canvas in the middle, right panel for Pages/Insert/Themes, and a top bar for preview and publish.
Pick a theme and move on. Eight built-in themes. They are all clean enough. Customize primary color and font under the Customize button. Themes that use white backgrounds and simple fonts look the most modern.
Build your home page with sections. Add full-width, one-column, two-column, and three-column sections. Add text boxes and images from the Insert tab. Your header should answer three questions immediately: what is this, who is it for, and where do I go first.
The embedding feature is the whole reason to use Google Sites. Any Google file in Drive can be embedded and updates automatically when the source changes. Embed a Google Doc and update the doc every Monday without touching the website. Embed a Google Calendar and every new event shows up automatically. Embed a Google Form and responses go straight to a Sheet. Embed Maps and YouTube videos from the Insert menu.
Navigation builds itself. Add pages in the Pages panel and they appear in the header nav automatically in the same order. Drag to reorder. Nest pages under parent pages for dropdown navigation. Hide pages from nav without deleting them.
Five design tips that matter: alternate section background colors for rhythm, keep images at a consistent aspect ratio, use buttons instead of text links for main actions, keep each page to one purpose, and test on mobile before publishing.
Publish from the top right button. Your URL is sites.google.com/view/yourslug. Set visibility to public, organization only, or specific people. Custom domain for personal Gmail accounts no longer works directly through Google Sites and requires a workaround.
Real-time collaboration works exactly like Google Docs. Add editors by email. They can edit simultaneously. Good practice: add backup editors for school or organization sites so publishing access does not disappear when someone leaves.
When to use something else instead: blog means WordPress.com, selling products means Shopify, SEO matters means Squarespace or Wix, beautiful design means Squarespace or Framer, custom domain without Workspace means Wix, advanced functionality means Wix or WordPress.
——————————————————————————————————————————-
Google Sites Tutorial: Build a Real Website in Under an Hour + Reddit Insights
Last updated: July 2026
Google Sites is not trying to compete with Wix or Squarespace. It is not going to win a design award. It does not have hundreds of templates or an app store or ecommerce.
What it has is this: it is completely free, it takes about 20 minutes to set up, it works seamlessly with every other Google tool you already use, and it requires zero technical knowledge to publish a real website that looks professional enough for most purposes.
That is the whole case for Google Sites. If that case matches your situation, this tutorial walks you through every step from a blank screen to a published site. If it does not match your situation, the last section of this guide tells you exactly when to stop reading and use a different tool instead.
Who Google Sites is actually for
Before you spend an hour building something, make sure you are building it in the right place.
Google Sites is the right tool if you are a teacher building a classroom website for parents and students. A school or nonprofit that needs an information site without a budget. A small team that wants an internal wiki where all your documents, procedures, and links live in one place. A student building a project or portfolio site. A business that needs a simple page for one event or campaign. Someone who already lives in Google Workspace all day and wants their site to connect directly to that world.
It is the wrong tool if you need a blog with chronological posts. If you want to sell anything. If SEO ranking in Google search results is important to your business. If you have a specific design vision that needs to match your brand exactly. Or if you need features like booking systems, membership logins, or advanced forms.
One thing Reddit consistently gets right about Google Sites: it is the best tool for what it is. The problem is that people try to use it for things it was not built for, get frustrated, and blame the tool. Know what it is for before you start.
Step 1: Create your site
Go to sites.google.com. You need a Google account. If you have Gmail, you already have one.
You will see any sites you have already created, plus a button to make a new one. Click the large plus sign to start a blank site, or choose one of the templates Google offers. The templates are organized by use case: portfolio, event, club, business, project. For most people starting fresh, choosing the blank option and building from scratch gives you more control than trying to rework a template.
At the very top of the screen, click where it says "Untitled Site" and type your site name. This is important to do early because it becomes the default URL for your published site. Something like "Jefferson Middle School Science Club" will publish to a URL based on that name. You can change it later, but doing it now saves a confusing cleanup step.
The screen is divided into three zones. The canvas in the middle is where you build your pages. The right panel switches between Pages, Insert, and Themes depending on what you are doing. The top bar has buttons for preview, undo, share, and publish.
Step 2: Choose a theme and set your basic look
Click the Themes tab in the right panel.
Google Sites gives you eight built-in themes. They have names like Aristotle, Diplomat, and Spearmint. Each one sets a default font pairing, color palette, and header style. Click any theme to preview it on your current page.
Do not overthink this. Pick the theme that looks closest to what you want and move on. You can change it later. The built-in themes are all clean and professional enough for most purposes.
Once you have a theme, click the Customize button that appears below the theme previews. This opens options to change the primary color, secondary color, and font. You can match your school or organization colors here by entering the hex code directly. If you do not know your brand colors and just want something that looks good, the defaults from any theme are fine.
One tip that Google Sites users consistently share: the themes that use a white background and simple sans-serif font tend to look the most modern and clean. Avoid themes with a busy header background image unless you have a great photo to replace the placeholder with.
Step 3: Build your home page
Your home page is the first thing people see. It should answer three questions immediately: what is this site, who is it for, and where should I go first.
Click on the header area at the top of your page. You can type a title directly into it. Below the title, you can add a subtitle line. These appear in the header and help set the context for your whole site.
To add a button, click on the header and look for the button option in the format toolbar. Buttons in the header are useful for "Contact Us," "Sign Up," or whatever the main action you want visitors to take is. Link the button to one of your other pages or an external URL.
Below the header, you build the body of your page with sections. Click the plus sign that appears when you hover between sections to add a new one.
Each section can be arranged in different column layouts: one column, two columns, three columns, or full-width. For a typical home page, a good starting structure might be a full-width intro section with a few sentences about what your site is for, then a three-column section with quick links to your most important pages, then a two-column section with a photo on one side and descriptive text on the other.
To add text, click the Insert tab and choose Text box, then click where you want it on the canvas. To add an image, choose Image from the Insert menu, then upload from your computer or select from Google Drive. Images you add to your Drive appear automatically in the picker, which makes it easy to use photos you have already organized.
Double-click any text to edit it. The text formatting toolbar appears with basic options: heading sizes, bold, italic, alignment, links, and bullet lists.
Step 4: Add and organize your pages
Click the Pages tab in the right panel.
Your home page is already there. To add a new page, click the plus sign at the bottom of the Pages panel and type the page name.
Common pages for different types of sites:
For a classroom site: Home, Schedule, Resources, Assignments, Contact
For a club or organization: Home, About, Events, Members, Contact
For a project site: Home, Overview, Team, Updates, Resources
For a team wiki: Home, Processes, Templates, Meeting Notes, Team Directory
Drag pages up and down in the panel to reorder them. This order is the order they appear in your site's navigation.
To create a sub-page (a page nested under another), hover over a page name, click the three dots that appear, and select Add subpage. Sub-pages appear in a dropdown menu under their parent in your site navigation. This is useful when you have many resources or multiple event categories that would clutter the top-level navigation.
To hide a page from the navigation without deleting it, click the three dots next to that page and toggle Hide from navigation. This is useful for pages that are in progress or that you want to link to directly without cluttering the nav.
Step 5: The Google apps embedding feature (this is why you are using Google Sites)
This is the thing that separates Google Sites from every other basic website builder. Any Google file you have in Drive can be embedded directly into a page, and it updates automatically whenever the source file changes.
To embed a Google Doc, Sheet, Slide deck, or Form: click Insert, then From Drive. Navigate to the file you want, click it, and it inserts directly into your page. The embedded file shows live content from your Drive. Update the spreadsheet in Drive and the site shows the updated version with no republishing needed.
This one feature makes Google Sites genuinely powerful for specific use cases.
A teacher can create a Google Doc with the week's reading list, embed it on the class site, and update it every Monday. Students see the current list without the teacher touching the website.
A project team can embed their shared project tracker spreadsheet on the team site. Whoever updates the spreadsheet is automatically updating the team site. No separate website updates, no one forgot to update the site.
A club can embed their Google Calendar on their Events page. Every new event added to the shared calendar shows up on the site automatically.
An organization can embed a Google Form directly on their site for membership signups, event registration, or contact requests. Submissions go straight to a linked Google Sheet. No third-party form tool, no monthly fee.
To embed a Google Calendar: Insert, then Calendar. Select the calendar from your account and choose how many months to show.
To embed a Google Map: Insert, then Map. Type the address and it inserts a live interactive map pinned to that location.
To embed a YouTube video: Insert, then YouTube. Paste the video URL and it appears directly in your page.
Step 6: Set up the header and navigation
The header sits at the top of every page on your site. Click anywhere in the header to see options.
You can change the header type from the format toolbar: banner (full-width image), cover (large image with title overlay), title only (just text, no image), or none. For most simple sites, title only keeps things clean and fast loading.
Navigation links appear automatically in the header based on your Pages panel. You do not need to create navigation manually. The order of pages in the panel is the order they appear in the nav.
The site title appears in the header on the left. You can click it to change the site title independently from the page name if you want a shorter display name.
To add a footer, scroll to the very bottom of any page and click the pencil icon that appears. The footer is shared across all pages. Add your contact information, social media links, or copyright notice here.
Announcement banners are a useful feature most people miss. Under the Insert menu, look for Announcement banner. This adds a full-width strip above the header, useful for temporary notices like "Registration open for Fall 2026" or "Site under construction, check back soon."
Step 7: Design tips that make the difference
Google Sites limits your design options deliberately. There are not many settings to adjust. Within those limits, a few choices make a significant difference.
Use section backgrounds intentionally. Click on a section and look for the background options: solid color, gradient, or image. Alternating white sections with a light gray section creates visual rhythm without requiring any design skill. A section with your brand color as the background and white text over it creates a strong visual break.
Make your images consistent. Nothing makes an amateur site look more amateur than images at wildly different sizes and aspect ratios. Pick one ratio (16:9 for landscape, 1:1 for square) and stick to it throughout. Google Sites will crop images to fit your chosen layout, but starting with consistent source images makes the result much cleaner.
Use buttons instead of text links for your main calls to action. Text links get missed. A button with rounded corners and your brand color is far more likely to get clicked. You add buttons through Insert, then Button, then style and link it.
Keep each page to one purpose. The temptation in Google Sites is to pile everything onto a few long pages because adding pages is easy. Resist this. A page called "Resources" that links to four sub-pages is more navigable than one Resources page with forty items scrolled together.
Test on your phone before publishing. Google Sites claims to be mobile-responsive and it generally is, but large images and three-column layouts sometimes need adjustment to look right on a small screen. Preview your site in mobile view by clicking the preview button in the top bar and switching to the phone icon.
Step 8: Publish your site
When you are ready to publish, click the Publish button in the top right corner.
A dialog appears asking you to set your web address. The URL will be sites.google.com/view/youraddress. Type a short, memorable slug. If your site is for Jefferson Middle School Science Club, something like jmscienceclub is perfect. Lowercase letters and hyphens only.
You can also set visibility here. Public means anyone with the URL can view it. Organization only means only people in your Google Workspace domain can see it (useful for internal team sites). Specific people means you enter email addresses for who can view it.
Click Publish. Your site is now live. The URL works immediately.
Custom domain: If you want your site at a URL like scienceclub.yourschool.edu or yoursite.com, this requires more setup. For Google Workspace accounts (common in schools and businesses), go to Publish settings and look for Custom URL. You will need permission from whoever manages your domain DNS. For personal Gmail accounts, custom domain mapping through Google Sites is no longer directly supported and requires a workaround through Google Search Console or a third-party proxy. This is the most common frustration new Google Sites users hit. Know before you start that a Google subdomain is the easiest outcome.
Step 9: Share your site for collaboration
Click the person icon in the top right (not the Publish button, the share icon).
You can add other Google accounts as editors. Editors can make changes to the site in real time, exactly like collaborating on a Google Doc. This is one of Google Sites' genuine strengths: having a committee of people work on a shared site without any of the file conflict or version control issues you get with downloaded files.
To share just the published site with viewers, send them the published URL. Only people with editor access can change the site.
For school or organization sites, a good practice is to add one or two backup editors who know how to publish, so the site does not go down if one person changes jobs or moves.
What Google Sites cannot do (be honest with yourself)
After building many sites in Google Sites, the limits become clear quickly.
There is no blog. You cannot create a section where posts appear in reverse chronological order. You can manually add pages and simulate a blog, but it does not work the way a blog works. If you want to post regular updates and have them organized by date, Google Sites is not the right tool.
There is no ecommerce. You cannot sell anything. You cannot take payments. You can embed a Google Form to collect information, but that is not a checkout process.
The SEO is limited. You can set a page title and meta description for each page in the page settings. Beyond that, Google Sites gives you very little control over how your site appears in search results. For a business that needs to rank in Google Search for competitive keywords, this is a serious limitation.
You cannot export your site. If you build a large, complex Google Sites website and later want to move it to WordPress or Squarespace, you cannot. There is no export. You would rebuild from scratch. Do not build anything you expect to migrate later.
When to stop reading this and use a different tool
If any of these describes you, close this article and open a different one.
You want a blog. Use WordPress.com.
You want to sell products. Use Shopify or Squarespace Commerce.
You need SEO to drive customers to your business. Use Squarespace or Wix, which give you proper SEO controls.
You need a beautiful design that impresses clients or customers. Use Squarespace or Framer.
You want a custom domain without Google Workspace. Use Wix, which includes a free custom domain in its paid plans.
You need member logins, booking systems, or advanced functionality. Use Wix or WordPress.
Common questions

Is Google Sites really free? Yes. Google Sites is free with any Google account. There are no paid tiers for Google Sites itself. The cost to use it is zero.
Can I use a custom domain with a personal Gmail account? This is complicated. Google no longer directly supports custom domain mapping for personal Gmail accounts through Google Sites. Workarounds exist but require technical setup. The easiest path to a custom domain is through Google Workspace (which schools and organizations typically have) or by using a different website builder.
Does Google Sites work on mobile? All published Google Sites are mobile-responsive by default. The editor is desktop-focused, but the published site adapts to any screen size.
Can multiple people edit a Google Site at the same time? Yes. Google Sites supports real-time co-editing exactly like Google Docs. You can see other editors' changes as they happen.
What happens if I delete my Google account? Your Google Sites site disappears. It is tied to your Google account. Back up any content you care about if you plan to close the account.
Can I add Google Analytics to my site? Yes. In site settings, there is a field for a Google Analytics measurement ID. Paste your GA4 measurement ID there and tracking starts on your next publish.
The bottom line
Google Sites is genuinely the best tool for what it is: a free, fast, Google-integrated website builder that requires no technical skill and works especially well for schools, internal teams, nonprofits, and anyone who already lives in Google Workspace.
Build it in an afternoon. Publish it the same day. Keep it updated by updating your Google Drive files and they reflect automatically on the site.
Know its limits before you start. If you need a blog, ecommerce, or serious SEO, use a different tool. There is no shame in that. The right tool for the right job.
Google Sites features and settings update periodically. Verify current options at sites.google.com.


